Tutorial Pt. 1
Part 2: Managing TracksAdding a Track
To add a track, click "New Track" in the top header.
Once on the "Add Track" page:
1. Click "Enable Microphone".
2. Your web browser should prompt you to accept microphone permissions, usually at the top of the window.
Note: If you already accepted permissions, it's normal not to get prompted again.
If you clicked "Deny", you will need to go to your browser's settings and remove the denial.
3. Click "Accept" on the browser permissions.

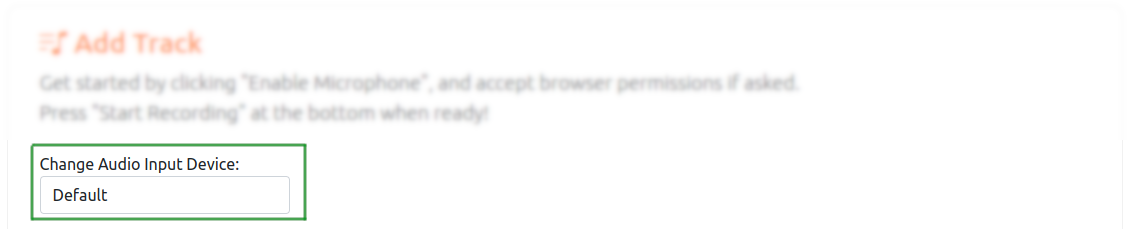
4. The "Enable Microphone" button goes away, and is replaced by the "Change Audio Input Device" dropdown menu.
5. In the "Change Audio Input Device" dropdown menu, you can leave this set to Default, or you can select a different device if you know which one you'd like to use.
6. You can ignore the other options for now, and scroll to the bottom.
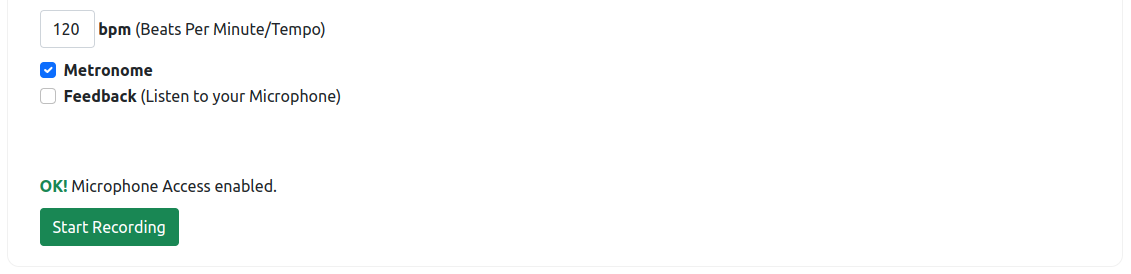
7. Press "Start Recording" when you are all ready to begin recording.
An audible countdown will play (a metronome), from 4-3-2-1 and at 0 will begin recording your microphone. At this point, you can play your instrument.
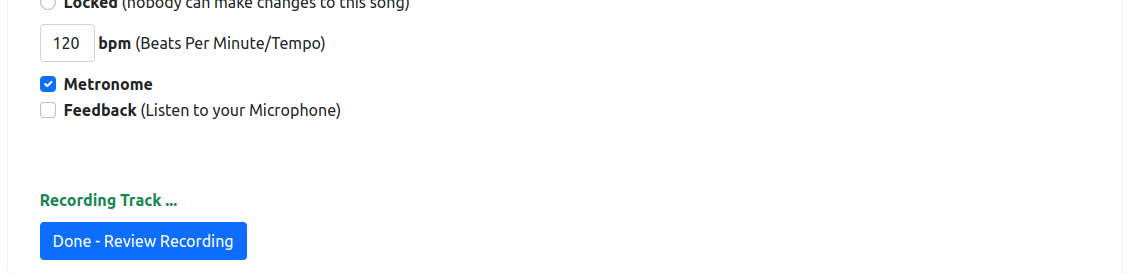
8. Once you are done recording, press "Done - Review Recording".
9. A section with "My Draft" shows up; this is your track audio you just recorded.
Press "Play All" to listen to your recording.
If you want to re-record it again, press the red "CANCEL Recording" button; this will clear the recording and you can do it over again.
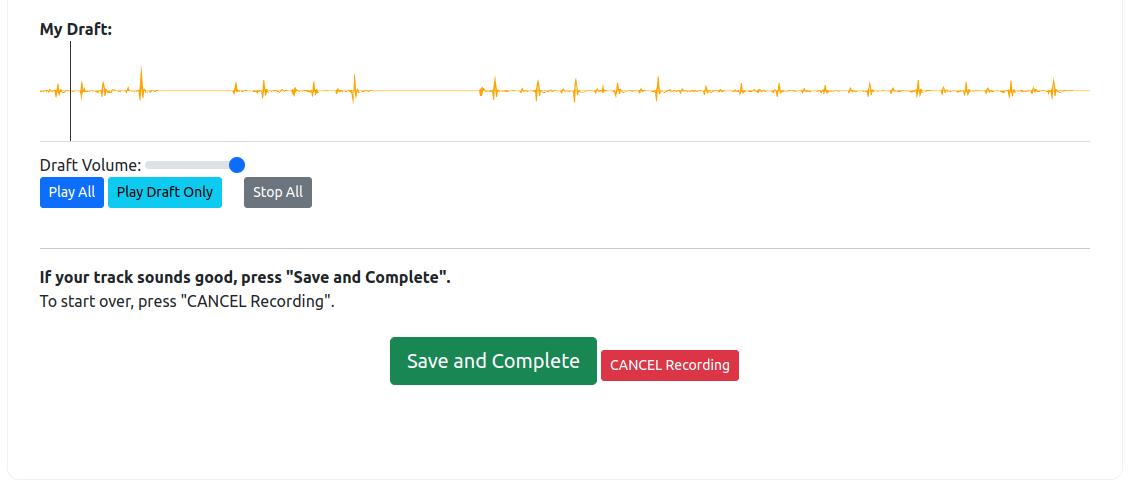
You can re-record and cancel as many times as you want.
10. If you are happy with your recording, press the green "Save and Complete" button.
Your recording will upload, and once complete, you will be shown your new track.
To manage your track, see: Managing Tracks